Demo - Managing and Automating API Specifications with GitHub Actions
A simple demonstration of how CI can automate and standardize API contracts
The full demo for this project can be found here
Prerequisites
If you plan to utilize HeyAPI to host/store your generated specifications, you will need to sign up on their web app. It is completely free to create an account and project, and you can use your GitHub account to authenticate. Once signed up:
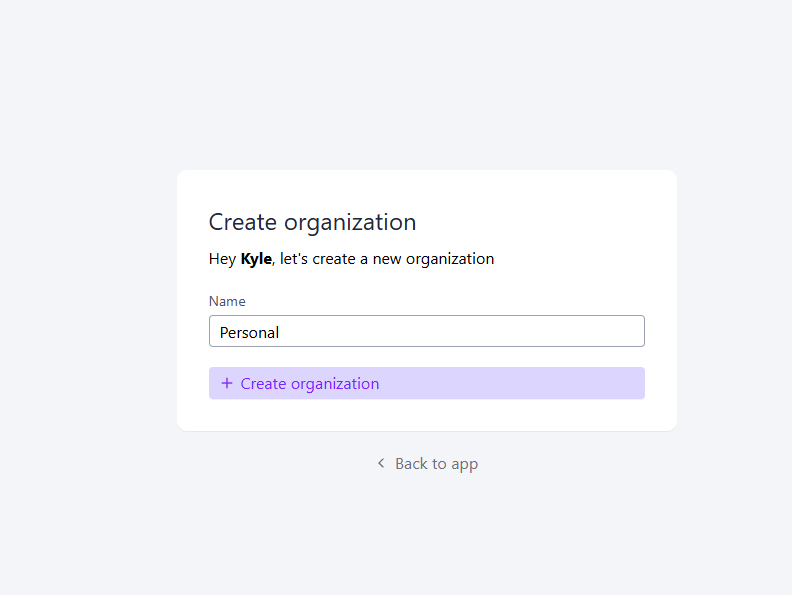
Create an Organization
In my case, I just called it “Personal”:
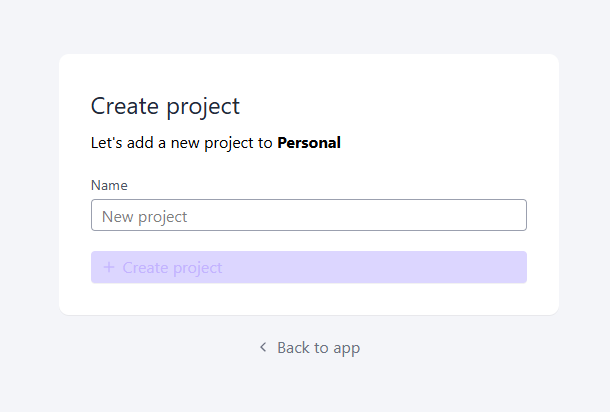
Create a New Project
I’ll name it HeyAPI-Swagger-Demo
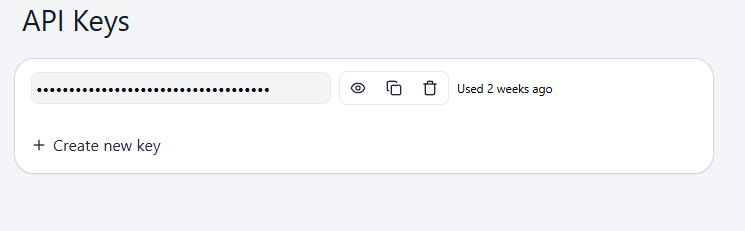
Generate an API Key
This will be required in later steps. You can generate API keys with HeyAPI for service integration, among those are pre-configured GitHub actions to handle the upload of a specification to your organization/project. Within your newly created project, you can generate a key:
I’ve glossed over the creation of repository for this demo, but once retrieved you can add this to the repository secrets:
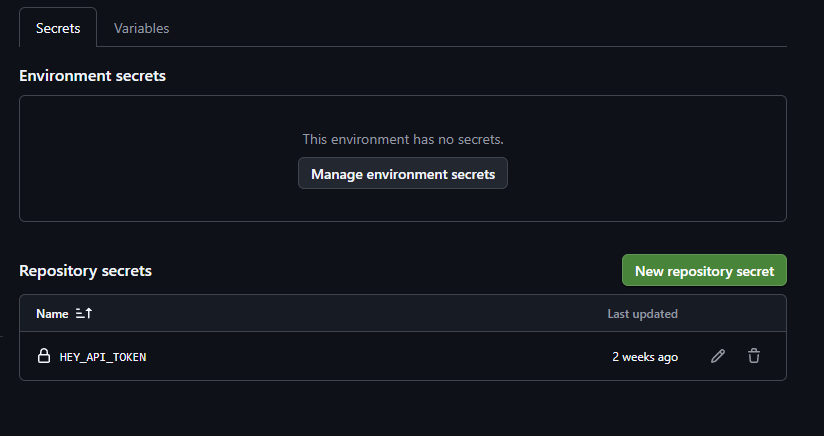
This should complete the required GH setup to plug in with our runner later on.
1) Creating a placeholder API - Carter, Minimal APIs and SwashBuckle
To generate an API spec, we’ll need to actually have an API to test this proof of concept. I’ve gone with a .NET Carter API, which provides a suite of extensions over Minimal APIs in .NET.
Here are some initial commands to get the project set up:
1
2
3
dotnet new install CarterTemplate # install carter template
dotnet new carter -n Actions-Demo-API # create new project
curl -sL https://www.toptal.com/developers/gitignore/api/dotnetcore >> gitignore ## I use this for convenient .gitignore but the default works
To give the API some functionality, I had Cursor endpoints and integrate it with the census geocode API:
1
2
3
4
5
6
7
8
9
10
11
12
13
14
15
16
17
18
19
20
21
22
23
24
25
26
// AddressModule.cs
   public void AddRoutes(IEndpointRouteBuilder app)
    {
        var g = app.MapGroup("/api/addresses")
            .WithTags("Addresses");

        g.MapPost("/validate", ValidateAsync)
            .WithName("ValidateAddress")
            .Produces<StandardizedAddress>(StatusCodes.Status200OK)
            .ProducesProblem(StatusCodes.Status400BadRequest);

        g.MapPost("/normalize", NormalizeAsync)
            .WithName("NormalizeAddress")
            .Produces<StandardizedAddress>(StatusCodes.Status200OK)
            .ProducesProblem(StatusCodes.Status400BadRequest);

        g.MapPost("/deduplicate", DeduplicateAsync)
            .WithName("DeduplicateAddresses")
            .Produces<DeduplicateAddressesResponse>(StatusCodes.Status200OK)
            .ProducesProblem(StatusCodes.Status400BadRequest);

        g.MapGet("/search", SearchAsync)
            .WithName("SearchAddress")
            .Produces<StandardizedAddress>(StatusCodes.Status200OK)
            .ProducesProblem(StatusCodes.Status400BadRequest);
    }
Models and services can be found in the repository. The focus isn’t on the API implementation.
We’ll want to add Swagger generation (requires Swashbuckle):
1
2
3
4
5
6
7
8
9
10
11
12
13
14
15
16
17
18
19
20
21
22
23
24
25
26
27
28
29
30
31
32
33
34
35
36
37
38
39
40
41
42
43
44
45
46
47
48
49
// Program.cs
using Addresses;
using Addresses.Census;
using Microsoft.Extensions.Options;
using Microsoft.OpenApi;

var builder = WebApplication.CreateBuilder(args);

builder.Services.Configure<CensusGeocoderOptions>(
    builder.Configuration.GetSection(CensusGeocoderOptions.SectionName));

builder.Services.AddHttpClient<ICensusGeocoderClient, CensusGeocoderClient>((sp, client) =>
{
    var o = sp.GetRequiredService<IOptions<CensusGeocoderOptions>>().Value;
    var baseUrl = o.BaseUrl.TrimEnd('/') + "/";
    client.BaseAddress = new Uri(baseUrl);
    client.DefaultRequestHeaders.Accept.ParseAdd("application/json");
    client.Timeout = TimeSpan.FromSeconds(Math.Max(1, o.TimeoutSeconds));
});

builder.Services.AddScoped<IAddressNormalizationService, AddressNormalizationService>();

builder.Services.AddEndpointsApiExplorer();
builder.Services.AddSwaggerGen(options =>
{
    options.SwaggerDoc("v1", new OpenApiInfo
    {
        Title = "Address API (Census Geocoder facade)",
        Version = "v1",
        Description =
            "Validates, normalizes, deduplicates, and forward-geocodes addresses for the United States, " +
            "Puerto Rico, and U.S. Island Areas using the public U.S. Census Bureau Geocoder " +
            "(https://geocoding.geo.census.gov/). This is not worldwide coverage and not street autocomplete."
    });
});

builder.Services.AddCarter();

var app = builder.Build();

app.UseSwagger();
app.UseSwaggerUI(options =>
{
    options.SwaggerEndpoint("/swagger/v1/swagger.json", "Address API v1");
});

app.MapCarter();

app.Run();
As usual, to confirm the generation of the Swagger docs we can navigate to the API’s address + /swagger.
2) Configuring the project to generate Swagger output
A crucial element of automating our spec generation will be configuring the project to output the Swagger .json. We can accomplish it by adding the Swashbuckle.AspNetCore.Cli tool to our project:
1
dotnet tool install Swashbuckle.AspNetCore.Cli'
Create a manifest for this tool - this will allow CI tools to download and ensure that versions are congruent when run during build steps:
1
2
3
4
5
6
7
8
9
10
11
12
13
14
// dotnet-tools.json
{
  "version": 1,
  "isRoot": true,
  "tools": {
    "swashbuckle.aspnetcore.cli": {
      "version": "10.1.7",
      "commands": [
        "swagger"
      ],
      "rollForward": false
    }
  }
}
To test the tool locally, we can run it against a debug or production build of the API:
1
dotnet swagger tofile --output swagger.json .\bin\Debug\net10.0\Actions_Demo_API.dll v1
This will output a swagger.json with the spec we have defined.
We now have what’s required to ensure that we can build and retrieve the OpenAPI specs during CI runs.
3) Configuring GitHub actions
I’ll break down the main tasks of the .yaml definition for our Actions run.
For the first part of this demo, we will perform the following tasks: ‘
- Build the .NET project
- Run the Swagger generation tool
- [Optionally] Upload this output as an artifact
- Upload this specification to
HeyAPI
This will be a fairly simplification replication of the steps we took to test this output locally, with the addition of publishing this specification to HeyAPI.
Here’s the full file:
1
2
3
4
5
6
7
8
9
10
11
12
13
14
15
16
17
18
19
20
21
22
23
24
25
26
27
28
29
30
31
32
33
34
35
36
37
38
39
40
41
name: Generate Swagger Docs

on:
    push:
        branches: [ master ]

jobs:
    generate-docs:
        runs-on: ubuntu-latest
        steps:
            - uses: actions/checkout@v4

            - name: Setup .NET
              uses: actions/setup-dotnet@v4
              with:
                dotnet-version: '10.0.x'

            - name: Restore tools
              run: dotnet tool restore

            - name: Build Project
              run: dotnet build --configuration Release

            - name: Generate Swagger JSON
              run: |
                 dotnet swagger tofile --output swagger.json bin/Release/net10.0/Actions_Demo_API.dll v1

            - name: Upload Swagger Artifact
              uses: actions/upload-artifact@v4
              with:
                name: swager-spec
                path: swagger.json

            - name: Upload Swagger spec
              uses: hey-api/upload-openapi-spec@b54ad48164a3af32d9da07c225547a536533ad0f # 1.3.0
              with:
                path-to-file: swagger.json
                tags: v1
              env:
                API_KEY: $
                GITHUB_TOKEN: $
Build the .NET project
The following in the .yaml file represent the steps of the building the project:
1
2
3
4
5
6
7
8
9
10
11
12
13
14
15
16
17
# ..
jobs:
    generate-docs:
        runs-on: ubuntu-latest
        steps:
            - uses: actions/checkout@v4

            - name: Setup .NET
              uses: actions/setup-dotnet@v4
              with:
                dotnet-version: '10.0.x'

            - name: Restore tools
              run: dotnet tool restore

            - name: Build Project
              run: dotnet build --configuration Release
It’s fairly straightforward. We’re simply setting up the runner to manage the restore and build of the API. We’ll need it build to run the Swashbuckle CLI tools.
Generate the swagger.json and upload it as an artifact
1
2
3
4
5
6
7
8
9
            - name: Generate Swagger JSON
              run: |
                 dotnet swagger tofile --output swagger.json bin/Release/net10.0/Actions_Demo_API.dll v1

            - name: Upload Swagger Artifact
              uses: actions/upload-artifact@v4
              with:
                name: swager-spec
                path: swagger.json
In this step we are performing the same step that we did locally to produce the .json specification of our API. The second step in this process would suffice if you wanted to keep your operations contained to just GitHub, assuming that you would then take this artifact and either publish it with a release OR take further steps to use this output for the creation of a frontend client (which is the ultimate final step that will be covered in a follow-up article).
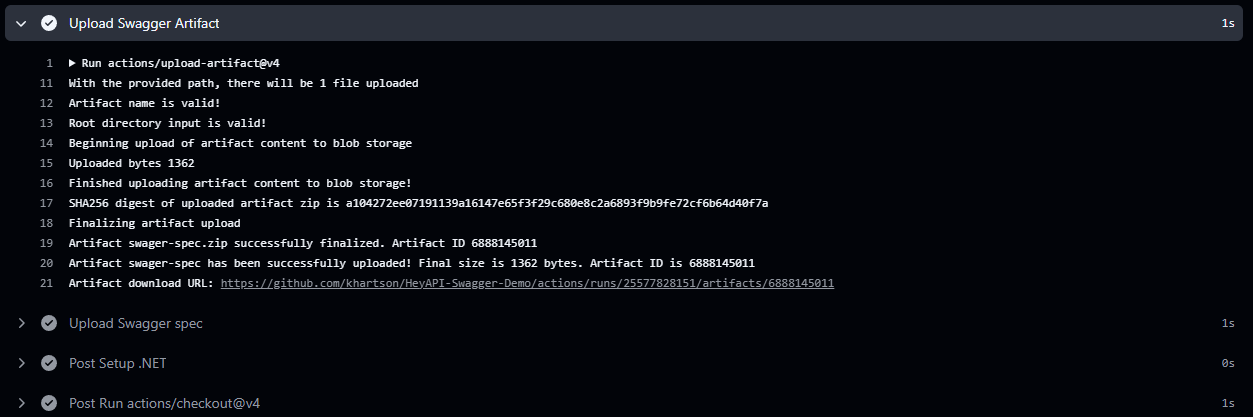
We will upload the artifact and, after a successful build run, the download link can be found at the end of the build output:
Upload the Swagger specification to HeyAPI
HeyAPI offers a pretty convenient GitHub action to handle uploads to a project.
Assuming you followed up the setup steps for HeyAPI:
1
2
3
4
5
6
7
8
            - name: Upload Swagger spec
              uses: hey-api/upload-openapi-spec@b54ad48164a3af32d9da07c225547a536533ad0f # 1.3.0
              with:
                path-to-file: swagger.json
                tags: v1
              env:
                API_KEY: $
                GITHUB_TOKEN: $
Here is where you add in the key from the initial account setup for the HeyAPI web application.
This will manage uploading the specification to the project you’ve created on their web app.
You can find the uploaded specification in the Specifications page of your project:
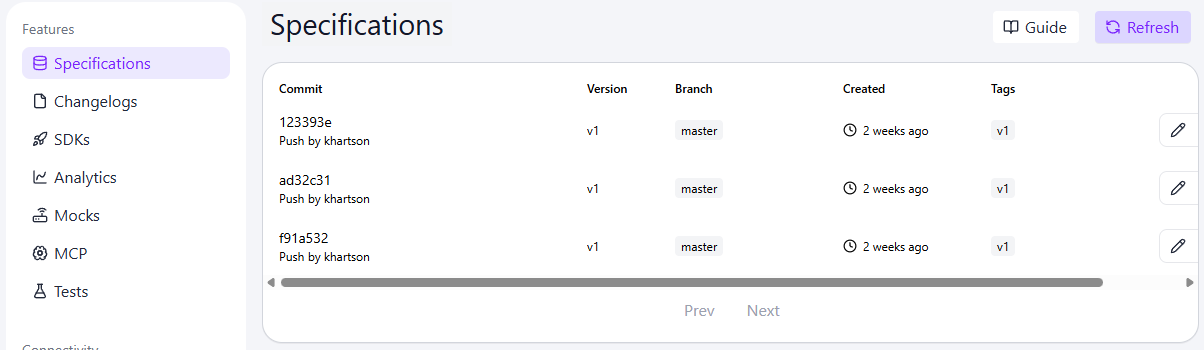
Viewing your new specification
If you have confirmed that your specification uploaded, you can also directly find the JSON hosted on HeyAPI.
If you are authenticated to their app in the same browsing session, navigate to:
https://api.heyapi.dev/v1/get/{your-org-name}/{your-project-name}
You’ll find the JSON accessible here. What’s nice is that you can provide an API key as a query parameter to allow other integrations access to download this specification.
I’m glossing over some of the nicer details that HeyAPI provides, such as filters by commit sha, tags, etc., some of which can be assigned as part of the configuration in the actions .yaml file.
What are next steps from here?
So you’ve generated an API specification, uploaded it and hosted it on HeyAPI, and confirmed that it’s reachable.
What good does this do, exactly?
The .json itself isn’t useful for much beyond having version-controlled, tagged documentation, but the production of a machine-readable format that details our API endpoints, types, header requirements, etc., is very valuable. With the rising use of automated or agentic development tools, the ability to define, control, and publish implementation details in a machine-readable format is not to be understated:
- Consistent, up-to-date, and version-matched documentation of your API
- Codegen-friendly format (which I will demonstrate below)
- Useful agent context
Specification documents are lingua franca for development teams and machines alike, and providing a standardized, source-of-truth designation for items such as API endpoints bolster both development speed but also code quality and internal coordination efforts.
Generating a type-safe SDK for a React frontend
One of the most powerful uses for HeyAPI is its comprehensive TypeScript code generation tool. To this end, the web application is merely a powerful asset for hosting this specification to serve as an input for the codegen tool.
While part two of this document will cover more automated and tighly controlled CI methods of ensuring that your frontend is adherent to backend contracts, we can take demo the code generation rather easily.
With your API key, you can run openapi-ts in a project to automatically generate a full SDK based on the specification we created:
1
npx @hey-api/openapi-ts -i https://api.heyapi.dev/v1/get/<your-organization>/<your_project>?api_key=<your_api_key> -o client
This will output a type-safe, fully generated SDK to match the specifications of your API in ./client (or whatever you specify as the output):
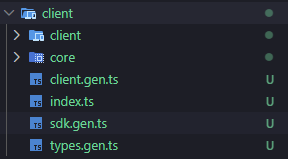
Most of this code is boilerplate to set up the SDK as you’ve configured it. It supports multiple fetch libraries, validators, state management tools, mocks, and whole suite of other integrations that are custom-built around your specification.
Here’s some of the code that would be generated:
1
2
3
4
5
6
7
8
9
// sdk.gen.ts
export const validateAddress = <ThrowOnError extends boolean = false>(options: Options<ValidateAddressData, ThrowOnError>) => (options.client ?? client).post<ValidateAddressResponses, ValidateAddressErrors, ThrowOnError>({
    url: '/api/addresses/validate',
    ...options,
    headers: {
        'Content-Type': 'application/json',
        ...options.headers
    }
});
1
2
3
4
5
6
7
8
9
10
11
12
13
14
15
16
17
18
19
20
21
22
23
24
25
26
27
28
29
30
31
32
33
34
35
36
37
// types.gen.ts
export type ValidateAddressData = {
    body: AddressInput;
    path?: never;
    query?: never;
    url: '/api/addresses/validate';
};

export type AddressInput = {
    oneLine?: string | null;
    street?: string | null;
    city?: string | null;
    state?: string | null;
    zip?: string | null;
};

export type StandardizedAddress = {
    id?: string | null;
    canonicalFormatted?: string | null;
    addressLine1?: string | null;
    addressLine2?: string | null;
    city?: string | null;
    state?: string | null;
    postalCode?: string | null;
    postalCodeExtension?: string | null;
    longitude?: number | null;
    latitude?: number | null;
    matchStatus?: MatchStatus;
    matchDetail?: string | null;
    isValidated?: boolean;
    warnings?: Array<string> | null;
    sourceBenchmark?: string | null;
    rawMatchCount?: number;
    resolvedFrom?: AddressResolutionSource;
    tigerLineId?: string | null;
    tigerLineSide?: string | null;
};
And it maps the expected shape as outlined in the API specification:
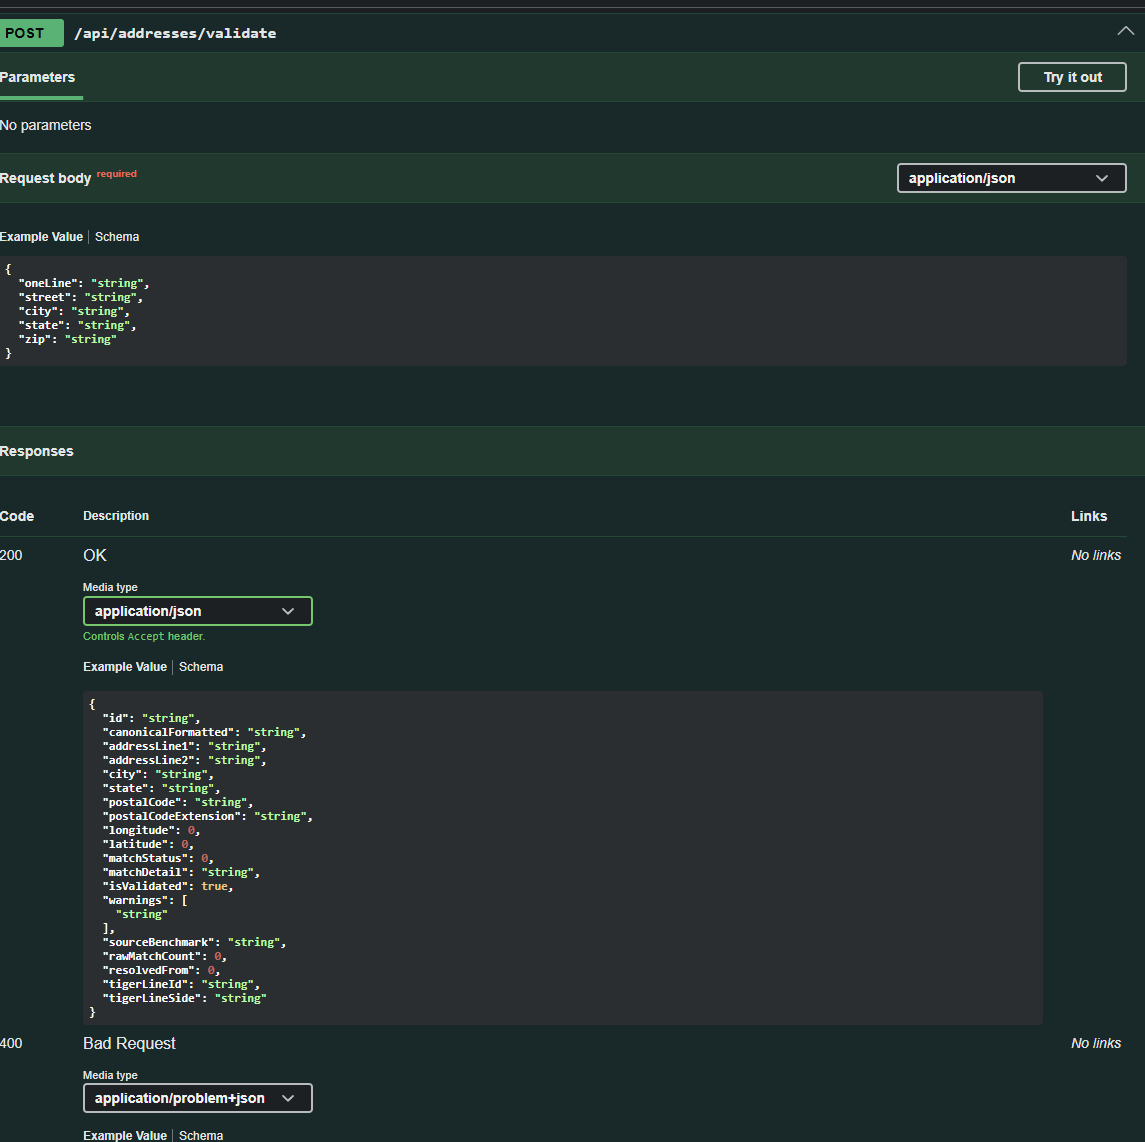
As you can see, this comes out of the box with type-safety, mappings for error responses, and can even map these items to server-side state management tools such as TanStack Query.
The next phase of this would be to integate this in your build pipelines one of two ways:
- Gated, automatic pulls from your frontend repository
- Publishing, pushing, or hosting the
HeyAPIgenerated output as a client repository for use as a package on NPM - A build artifact that can simply be shared amongst your team and imported into projects as-needed
- Easy bindings that can be published and shared for backend teams looking to support frontend libraries for their API
I will hope to cover some of these possiblities in a later article.